Unreal World Cultures
The most up-to-date information and chat can be found at z3.invisionfree.com.unrealworld.wikia.com is a good general resource.There's an IRC channel devoted to the game where you can often find players who can talk to you about the game: ##URW on (see z3.invisionfree.com for help)Long-time player plotinus has made z3.invisionfree.com that can suggest a starting character for you, which is useful if you want a challenge. I find it especially useful for suggesting a name appropriate to the culture and gender you're looking to play. You can also www.unrealworld.fi, who can give you the same output, and much more besides.
Unreal Engine’s World Composition feature enables you to manage the streaming of large terrain databases in order to optimize memory usage, by dividing them into individual tiles that can be loaded and unloaded automatically based on their distance from the viewer.
'Quick and easy' entirely randomises character creation. It also makes this guide redundant.
'Custom' allows you to choose the features of your survivor, and is highly recommended. 'Custom - easy' and 'Custom - too easy' affect the skill selection part of character creation by allowing you to take chunks of skill points away from one skill and putting it in another. This allows you to min-max your character skill, taking from marginal skills like 'Flail' and 'Crossbow' or easy-to-improve ones like 'Climbing' and 'Skiing' and putting into vital ones like your favoured weapon skill or Fishing or Trapping. With 'Custom - too easy' you can take one of skill points away from each skill; with 'Custom - too easy' you can take two. If you know what you're doing, this can remove the challenge from a game, so I don't use it.
Experienced players almost always play on 'Custom'. Note that in the 'Custom' modes you can randomise your culture, starting stats, and starting location.
You have a choice of the traditional four seasons, spring, summer, autumn, and winter. This is an extremely important choice.
The weather makes an enormous difference to your play, especially the cold. The period from late autumn through to late spring is one where much of URW is freezing, including frozen rivers and coasts, frozen ground for the coldest parts, lots of snow everywhere slowing you down, and no plants to forage.
Freezing to death is a real risk, especially if you get soaked in cold water like from falling through thin ice.Spring starts just as winter starts to ease up, so you can run around without wearing too much warm clothing on or without skis. But there is still snow, frozen rivers and coasts, and (in early spring) frozen ground to contend with. It's still cold enough that food spoils slowly and in the early spring the air is dry enough to preserve meat through drying, which is useful for a survivor who succeeds at hunting early on.
Thin ice during the spring melt is as dangerous as anything else in the game, since it can break very unpredictably, leaving you numbingly cold and on your way to freezing to death unless you immediately start a fire and warm yourself up.Summertime is much less dangerous, but you need to take into consideration that your food will spoil very quickly in the warm weather, starting to deteriorate within two or three days. Be prepared to lose most of the meat from a hunt due to spoilage. Typically, you can only eat about 10% of the meat from a reindeer or 5% of the meat from an elk before it goes off.
The usual response is to either sell the meat within two or three days of cooking it, or to preserve the meat, but preserving food is not straightforward. In cold weather you can dry it, or you need to build a smokehouse, or you need to trade for salt.Autumn is probably the easiest time of the year, since there are lots of plants to forage (berries, herbs, and roots). This is the only time of the year you don't need to fish or hunt for food. Villages start to harvest their crop (as will you if you've done the groundwork earlier in the year) which they offer for sale. Also, meat doesn't spoil quite as fast as in the summer but the weather isn't cold enough to be a problem.
In late autumn the air is dry enough for you to preserve food by drying again. As a starting season this isn't ideal, though, because you're not leaving yourself a lot of time to prepare for winter.Winter requires careful preparation to survive.
Snow is thick, most waterways are frozen over (including much of the sea around the coasts), the ground is frozen, there is nothing to forage, and animals are less plentiful and give less meat. Freezing to death is a constant threat, and starving to death a real prospect.
Starting during winter is one of the hardest challenges for a survivor, and should only be attempted if you know exactly what you are doing.Your task throughout the earlier part of the year is to make sure you're prepared for winter. If you're prepared with warm clothing, shelter, skis, and firewood, the well-equipped survivor can do very well in winter. The animals you do find will have their thicker winter fur, making it warmer and more valuable (especially the white arctic fox fur). Anything not on skis is bogged down by snow, so you can easily chase them down. This is useful not just for hunting but also against the Njerpez, who may have better weapons and armour than you but can't navigate the snow all that well.
This makes winter the prime season to confront the Njerpez and drive these slavers from your land.I myself prefer to start in the Spring, giving myself the longest time to prepare for winter and establish myself. It gives me enough time to prepare fields, plant and harvest crops before they wither in the winter. Summer is probably the easiest start, since it avoids the hazards of the spring melt while still giving you enough time to prepare for winter. Rusty lake mill walkthrough. Your stats are randomly generated, but you can reroll your stats as often as you like. At what point you accept the roll is determined by how much of a challenge you want to set yourself. Your choice of culture decides what range of values you can get.
Below are some things to take into consideration.Intelligence makes a large difference to your starting skill stats and how likely you are to improve at something. Will makes a difference to how long you can keep consciousness (from tiredness or wounds). Strength and Endurance are things that make your character more forgiving to play. Strength determines how much you can carry; high strength scores make it much easier to transport goods overland (like your catch from a hunt).
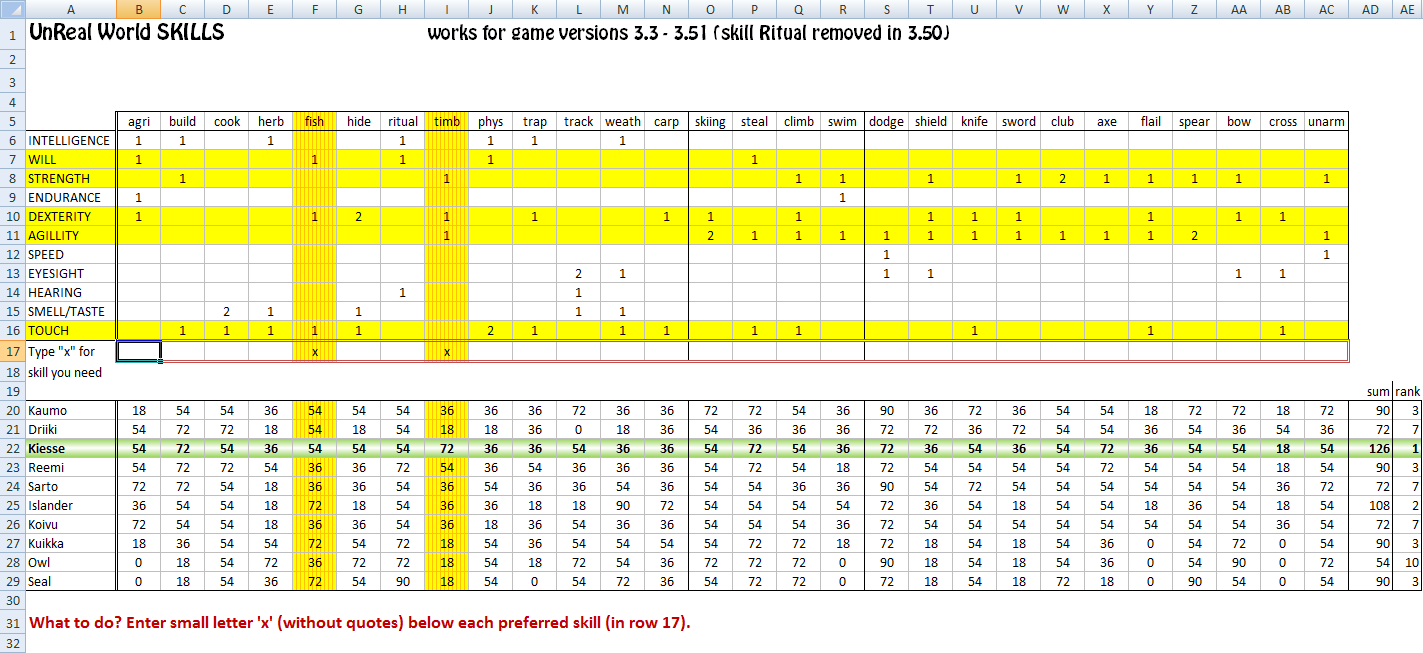
Endurance makes a difference to how much you can do before you need to rest (most players reroll characters with low Endurance). This helps explain why Kaumo is a popular culture for a survivor.
Dexterity, Agility and Speed all make a big difference to your Bow, Spear, and Dodge skills, with the latter being especially important since you can't improve it in-game. It is feasible for survivors from northern cultures can have perfect scores for these three stats. The other stats mainly make a difference for crafting, but Eyesight is also extremely useful since it's involved with weapon skills, Dodge, and your ability to spot things around the map.Along with your stats each survivor gets a physique which is influenced by, but isn't solely determined by, your physical stats and starting culture.
Your height influences your weight, and your weight influences how much you can carry.After accepting stats, you see the rituals your survivor starts with. You don't get to make a choice here (it's drawn randomly from a pool of possible rituals for a survivor of your culture), but this is an opportunity to learn about them. Rituals can be extremely important to surviving in URW, often allowing you to overcome a low rating in a skill, or improving the results of actions of even high-skilled survivors. What starting scenario you choose makes a large difference to the difficulty of your game. Some starts give you a lot of valuable equipment that otherwise you would need to build up to, whereas others put you in a worse position than normal. Except for the two 'neutral' scenarios which doesn't make a difference to your starting equipment, I split these into two groups: the 'comfort' scenarios and the 'challenge' scenarios. Choose an appropriate 'comfort' scenario if you don't want to go through the hassle of acquiring the items in question.
Choose a 'challenge' scenario if you want to see if you can handle it.The two neutral scenarios are 'The Unreal World' and 'The Village'. 'The Unreal World' simply places your survivor in the wild at your starting location. 'The Village' does the same, but now there's a village at the spot you've been placed.Here are the 'comfort' scenarios in what I think is the order from the most to least beneficial.I Want to Be a Fisherman: This equips you with a fishing rod and two nets. With even a mediocre Fishing skill the nets will secure a supply of food at little effort, since you place nets and check them every 40-50 hours or so (after 2 days, with a little grace period, any fish you've caught in the net die and become inedible) while you get on with doing the other things you want to do. Net fishing becomes less effective in winter, but using a fishing rod still works (even if it takes more of your survivor's time).Lonely Settler: You start at a site with a couple of partially built cabins and the axes used to build them. You could finish the buildings if you like but normally it's worth your while to choose your own building site. But the axes you get from the scenario (one each of a carving, splitting, and broad axe, scattered around the building site) are extremely useful.
You could do everything with any axe, but the specialised axes make these tasks much faster and offer sizeable bonuses to various kinds of carpentry.Not All Who Wander are Lost: You are placed in the wilderness, next to a dead man, a burning fire, and with an animal with you. The dead man is your father (sorry for your loss) and the corpse is likely to have useful equipment on it.
Take everything he has, he's not using it anymore. The animal is one appropriate to your culture: dog, sheep, cow, bull, sheep, ram, pig, reindeer. How beneficial this start is depends a lot on what animal you get, but all of them are useful. Dogs are probably the best, because of how much help they are when hunting and how they can save your life during dangerous encounters in the wild. Cows and sheep are very good because you can milk them (cows give more than sheep). You can load any animal with objects for them to carry, and bulls and reindeer are especially good as beasts of burden and you can load them with heavy items that would have slowed you down.
All the animals can serve as 'walking larders' where they feed off of the land and you slaughter and eat them when needed (or in winter, as was traditionally done) as well as getting a useful hide.Abandoned Camp: You start by a campsite with a shelter and various tools lying around; there's also some firewood, weaponry, and armour to be found. All these items except for perhaps the armour would be quite easy to find and trade for, but it's convenient to have them available right from the start. However, you can get most of the benefit from this scenario by doing the 'Living in the Wild' game course (discussed below) which gives you most of these tools and more besides. That would allow you to get the benefits from a different starting scenario.Traps and Trapping: In addition to your starting gear you start with some traps ready to be set, and a shovel to help with digging trap pits. All of this is welcome, but not much to write home about.Agriculture: You start with your normal starting gear as well as a shovel and some seeds. These are all the things you need to farm, along with a lot of elbow-grease.
But you receive a shovel and some seeds from the 'Living in the Wild' game course. Seeds are cheap to buy and easily available at any village with farms around it in spring and summer. So there isn't much benefit from this scenario.Abandoned Trap Fence: You start by a decently long trap fence in need of some work and are in possession of a shovel in addition to your normal starting gear.
The main purpose of this starting scenario seems to be to show new players what a trap fence is meant to look like: a long stretch of fences with trap pits at spots animals would try and get through. Note that you need to patch up any open diagonals in the fence, since animals (and anything else) can move through them fine. This is like the 'Traps and Trapping' scenario with less gear and a fence at a location you don't know the effectiveness of.Now on to the 'challenge' scenarios. Below I list them in the order I think of as the least challenging to the most.Unfortunate Hunting Trip: You start next to the corpse of your father (sorry for your loss) with the animal that killed him nearby. Take everything your father is carrying and leave: you aren't equipped to take on the animal (one of a bear, lynx, or a pack of wolves). The animal doesn't disappear off the map when you leave, so you can come back later and try to find it in the same vicinity.
Animals have migration routes in the game, so it won't be at exactly the same spot, but it will be out there, somewhere, when you're ready to face it (if you ever do).There Be Robbers!: You start close to a group of robbers from the culture you're closest to. This start can be extremely dangerous, but also very rewarding. The possible reward is all the equipment the robbers are carrying. However, robbers are very dangerous in a straight-on fight, since you are likely to get surrounded, or their bowmen will shoot you down. If you lose you get knocked out, the robbers take most of your items, and you wake up having been dragged to a different spot and badly injured. That won't kill you, but early on it can make your game prohibitively hard and it's easier just to restart.
Don't fight unless you can outmaneoevre the robbers and take them on one-by-one, preferably leading them into ambushes. Don't hesitate to run away; you can track the robbers down again later and take the fight on your own terms.Runaway Slave: You start inside a Njerpezit camp, with only the bare minimum of equipment: your clothes, a tiny amount of food, and a knife. This is a lot like the robber scenario, except you're worse equipped, the Njerpez are fiercer combatants, and the equipment you can get from them is better.
With the weapons and armour you can get from the Njerpezit you could buy everything you need for all of your game. Your best bet is to run away, prepare yourself a little (like crafting javelins and clubs for the fight), come back at night, and ambush one of the Njerpez when it's alone, loot his corpse, and run away. With the items you loot from his corpse you can set yourself up for the rest of the game, and maybe come back later for the rest of the Njerpezit.Hurt, Helpless, and Afraid: You start in the wilderness with a knife, some clothes, and grievous wounds. This is the hardest scenario because you have all the danger of a challenge without the dependable source of valuable items that the robber and runaway slave scenarios offer. Doing this in winter, especially with a lower-powered survivor like a Driik, is the hardest start to the game. Your first task is to see to your wounds and make sure your situation doesn't get worse.
Don't hesitate to use your clothes for bandages, and make a fire and rest by it if you're cold. Then comes the hard task of making a living from your difficult situation. Best of luck.